
Key Takeaways:
- Relaxation is essential – Tension makes your body sink, so releasing tight muscles in your shoulders, neck, and jaw helps you float effortlessly, whether on your back or front.
- Proper body positioning matters – Keep your head, hips, and feet aligned for back floats, or fully stretch your body for front floats. Spread your arms and legs slightly to distribute weight evenly.
- Controlled breathing boosts buoyancy – Slow, deep breaths stabilize your body and reduce fear, acting like a natural life jacket. For front floats, lift your head occasionally to inhale without straining.
- Mental preparation improves confidence – Visualizing yourself floating and trusting the water makes the experience less intimidating.
- Use support if needed – Pool noodles, kickboards, or holding the edge can help beginners build skill before floating independently.
- Start small and practice regularly – Short, consistent sessions in shallow, calm water gradually increase comfort and control.
- Recovery techniques reduce anxiety – Rolling to your side, taking a deep breath, and staying calm if you start sinking helps you recover safely and builds confidence.
Floating in a pool is one of the most relaxing ways to enjoy the water, but if you’re a beginner, the idea of doing a back float or front float without sinking can feel intimidating. The good news is that floating is a skill anyone can learn with a little practice, confidence, and proper technique. This guide will walk you through everything you need to know to float safely, comfortably, and without fear.
Why Do People Fear Floating?
Many beginners struggle with floating because it feels unnatural at first. Your body isn’t used to relying on water for support, and fear of sinking can make you tense. Common fears include:
- Feeling out of control in deep water
- Worrying about inhaling water
- Anxiety about drowning
Understanding that these fears are normal is the first step toward relaxing in the water. Once you accept that floating is a skill you can learn, your confidence will naturally grow.
What Makes Floating Easier?
Floating is a combination of physical and mental factors that work together. Understanding these key elements can make your first attempts much more successful.
- Body composition – While having a bit more body fat can naturally make floating easier, anyone can float with proper technique. Muscles and bones can be supported by the water if your body is properly aligned and relaxed. Think of water as a natural cushion that will hold you if you trust it.
- Relaxation – Tension is the biggest enemy of floating. When your muscles are tight, you sink faster because your body becomes dense and rigid. Let go of stiff shoulders, tense arms, and clenched jaws. Imagine your body melting into the water, fully supported, to help achieve natural buoyancy.
- Proper positioning – Floating works best when your body is in the right alignment. Keep your head, hips, and feet in a straight line. Spread your arms slightly away from your body and relax your legs. This helps the water distribute your weight evenly, so you float without effort.
- Breathing control – Your lungs act like natural life jackets. Slow, deep breaths not only help calm your mind but also increase your buoyancy. The more air you hold in your chest, the more support you get from the water, making floating more stable and enjoyable.
Step 1: Prepare Mentally Before Floating
Floating is as much a mental skill as it is physical. Fear or anxiety can make even the most buoyant person sink. Taking a few minutes to mentally prepare can make your first attempts easier and more relaxed.
- Visualize success – Close your eyes for a moment and picture yourself floating calmly on your back or front, fully supported by the water. Imagine the water holding you up effortlessly. This primes your brain and body to relax.
- Practice deep breathing – Take several slow, controlled breaths before stepping into the pool. Focus on long inhales and exhales to calm your nervous system.
- Remind yourself of the water’s support – Repeat a simple mantra, such as “The water holds me up.” Trust that water naturally supports your body, and tension is what makes floating difficult.
Step 2: Choose the Right Spot in the Pool
Your environment has a big effect on how comfortable you feel floating. The right spot can reduce fear and help you focus on technique.
- Start in shallow water – Begin in an area where your feet can touch the bottom. Knowing you can stand up at any time is reassuring for beginners.
- Find calm water – Avoid areas with waves, splashes, or heavy traffic. Smooth, still water allows you to focus on balance and relaxation.
- Check water temperature – Water that’s too cold can make muscles tense, while water that’s too warm can make you drowsy. Aim for a comfortable temperature that encourages relaxation.
Step 3: Use a Flotation Aid if Needed
Many beginners feel safer with a flotation aid, and that’s perfectly fine. Using one can help you gain confidence before floating independently.
- Pool noodles – Great for supporting your back during a back float or under your chest/arms during a front float.
- Kickboards – Helpful for supporting your upper body while practicing front floats.
- Inflatable arm floats – Provide extra buoyancy, particularly for beginners nervous about sinking.
Using a flotation device is not cheating—it’s a learning tool. Gradually reduce dependence as you build skill and confidence.
Step 4: Learn the Starfish (Back) and Superman (Front) Positions
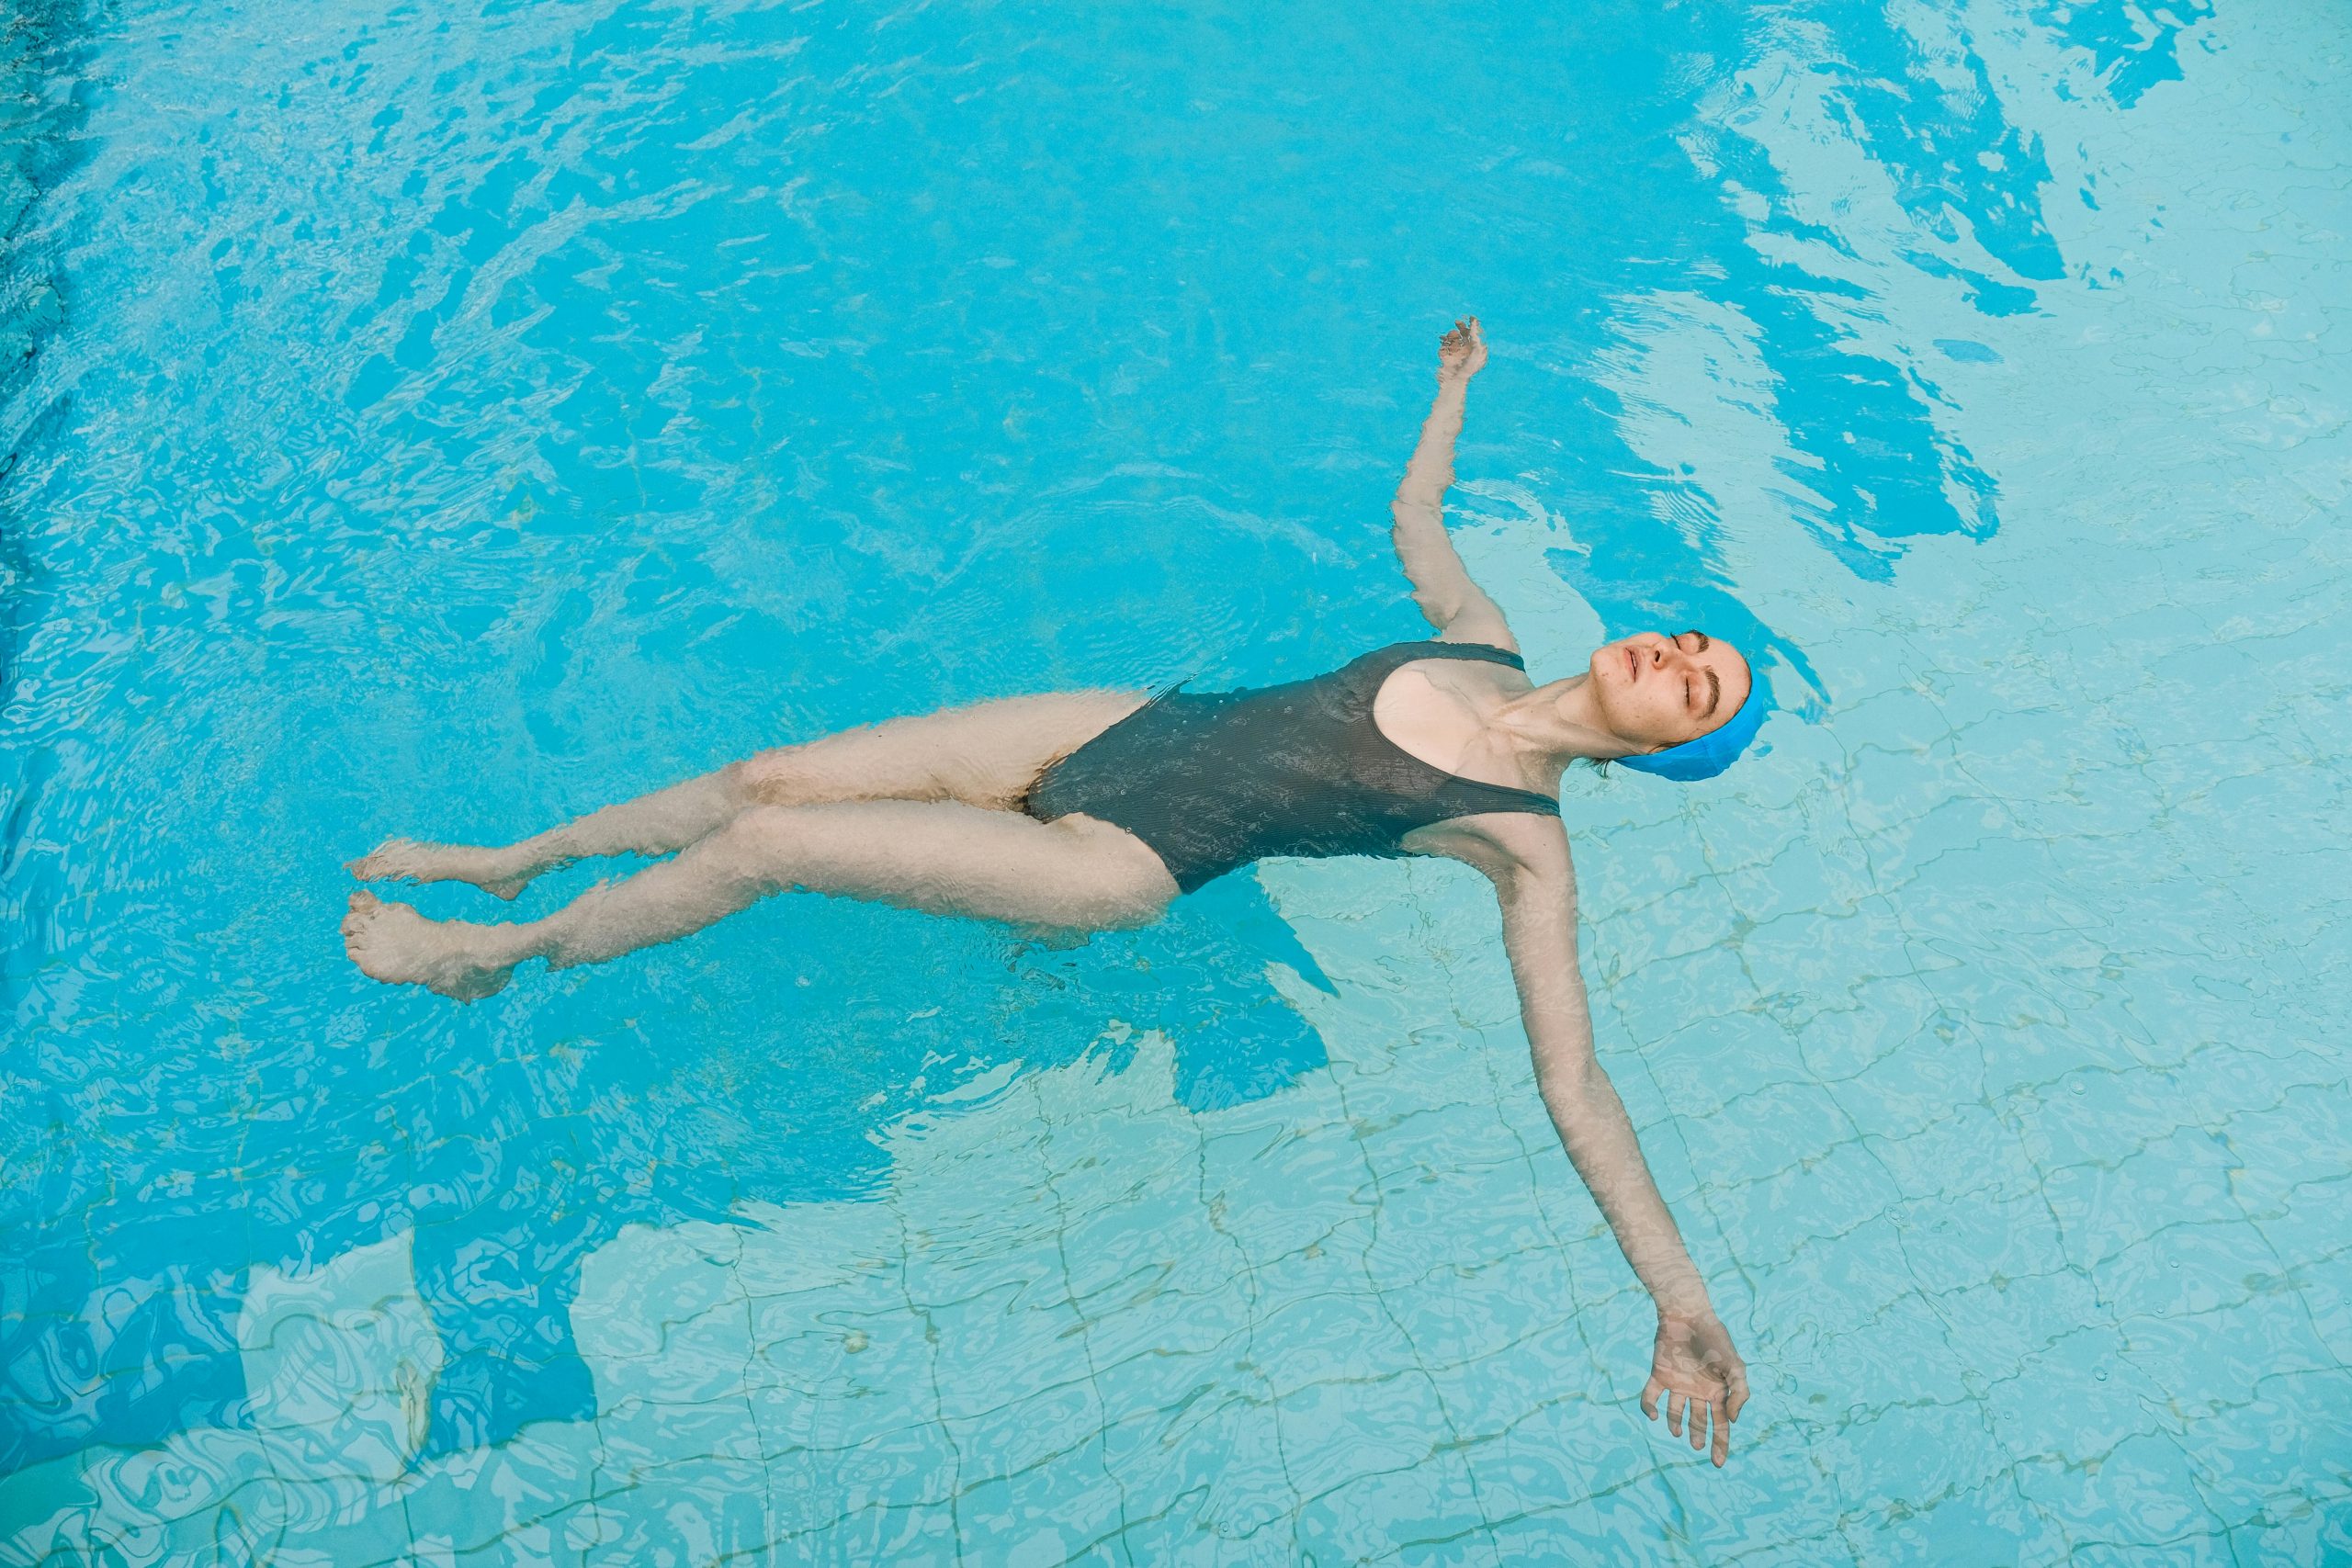
Back Float (Starfish Position)
- Lie on your back with arms and legs comfortably spread apart.
- Keep your head slightly tilted backward so your face stays above water, but allow your ears to submerge.
- Relax your muscles and let the water support your body naturally.
- Gently rock from side to side or sway your arms slightly if you need to stabilize yourself.
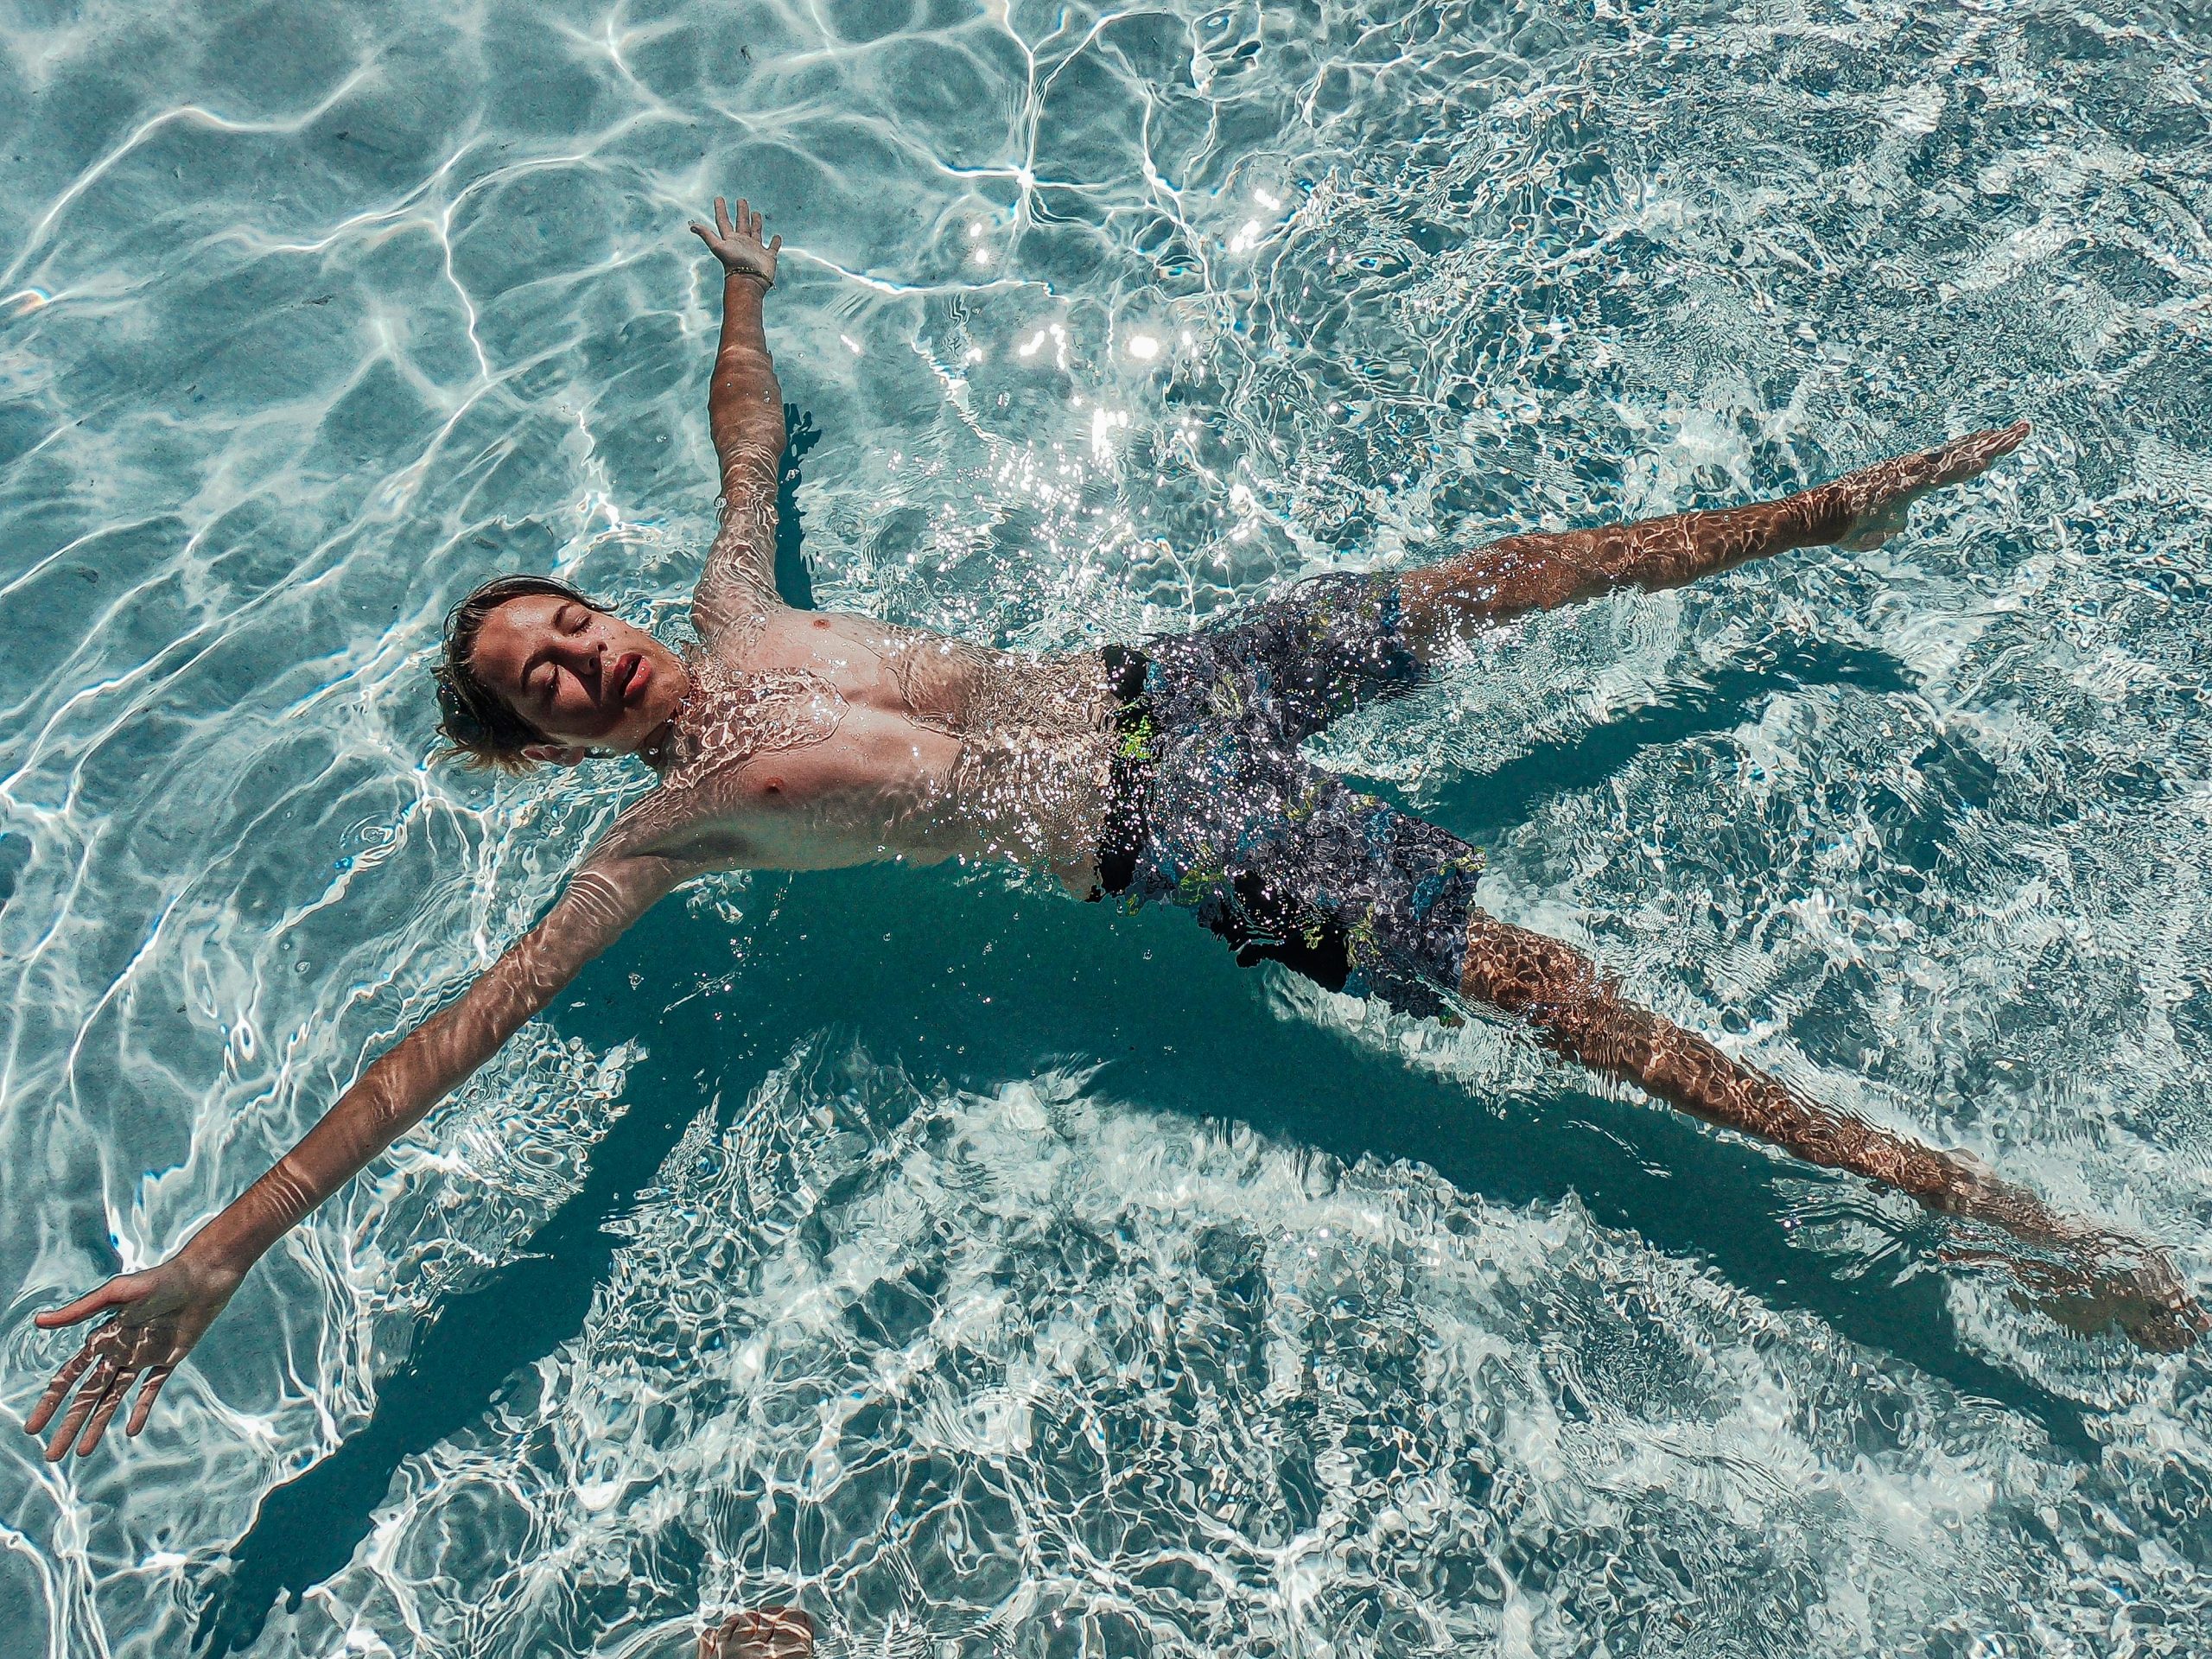
Front Float (Superman Position)
- Lie face down in the water with arms extended forward (like Superman) or out to the sides.
- Keep your body flat and fully stretched, with legs relaxed.
- Lift your head occasionally to breathe, keeping most of your face in the water.
- Gently kick your legs or move your arms to help maintain balance if necessary.
Both positions distribute weight evenly and keep you from feeling “bottom-heavy,” which can cause sinking.
Step 5: How Should You Position Your Head?
Back float:
- Tilt your head slightly backward so your forehead, eyes, and nose are above water.
- Allow your ears to submerge; this keeps your spine aligned and distributes weight.
- Keep your eyes open to maintain awareness and confidence, though closing them can help you relax.
- Avoid lifting your head too high, which makes your hips sink and creates tension.
Front float:
- Keep your face mostly in the water, looking slightly forward or down.
- Lift your head just enough to inhale comfortably without straining your neck.
- Relax your jaw and shoulders to prevent sinking.
Step 6: How to Control Your Breathing While Floating
Controlled breathing is key to both relaxation and buoyancy. Shallow or rapid breaths create tension, which pulls you down.
- Take slow, deep breaths—inhale through your nose, exhale through your mouth.
- For back floats, allow your chest to rise and fall naturally with each breath.
- For front floats, exhale gently while your face is in the water and lift it occasionally to inhale.
- Sync your breathing with gentle rocking or kicking motions if needed to maintain balance.
Deep breathing reduces fear and enhances your control over floating.
Step 7: Practice Floating With Support
If floating independently still feels intimidating, practice with partial support. This builds confidence and lets your body get used to buoyancy.
- Hold onto the edge of the pool while lying on your back or front.
- Place a flotation device under your back, chest, or arms for additional support.
- Gradually reduce support as you become comfortable, eventually floating without assistance.
Partial support allows you to focus on breathing, posture, and relaxation without worrying about sinking.
Step 8: How to Stay Relaxed in the Water
Relaxation is the most important skill for floating. Tension makes your body dense and pulls you under.
- Release tight muscles in shoulders, neck, and jaw.
- Let your hands and feet float naturally; avoid forcing them into rigid positions.
- Visualize yourself as light as a leaf, gently supported by the water.
- Focus on slow, even breathing rather than trying to control your body with muscles.
The calmer your body, the more effortless your float will feel.
Step 9: Practice Floating Without Fear
Once ready, float independently. Start small and gradually increase duration as your confidence grows.
- Float for 10–15 seconds initially. Don’t worry if you sink after a short time—it’s normal.
- Gradually extend floating duration as relaxation and technique improve.
- Practice consistently. Regular short sessions are more effective than long, infrequent ones.
Remember, floating is a skill that improves with patience, repetition, and trust in the water.
How to Recover If You Start Sinking
Even experienced swimmers occasionally lose balance or sink slightly while floating. The key is to stay calm and use simple recovery techniques rather than panicking. Here’s how to recover safely:
- Roll onto your side – If you feel yourself sinking, gently roll onto one side. For back floats, this reduces pressure on your back and allows you to push against the water more easily. For front floats, rolling onto your side helps relieve pressure on your chest and face, making it easier to lift your head to breathe.
- Push off the water – Use your hands or feet to lightly push against the water while rolling back into a floating position. Small, controlled movements are more effective than flailing.
- Take a deep breath and reset – Inhale slowly and let the water support your body. For front floats, lift your head just enough to take a breath, then relax back into position. Focus on relaxing your muscles and regaining balance before resuming your float.
- Stay calm – Panicking tightens muscles and causes you to sink more quickly. Remember, water naturally supports you, and sinking slightly is normal when learning. Trust the process, breathe deeply, and try again.
Fun Variations for Floating
Once you’ve mastered basic floating, experimenting with variations can make the experience more enjoyable and build water confidence. Here are some ideas:
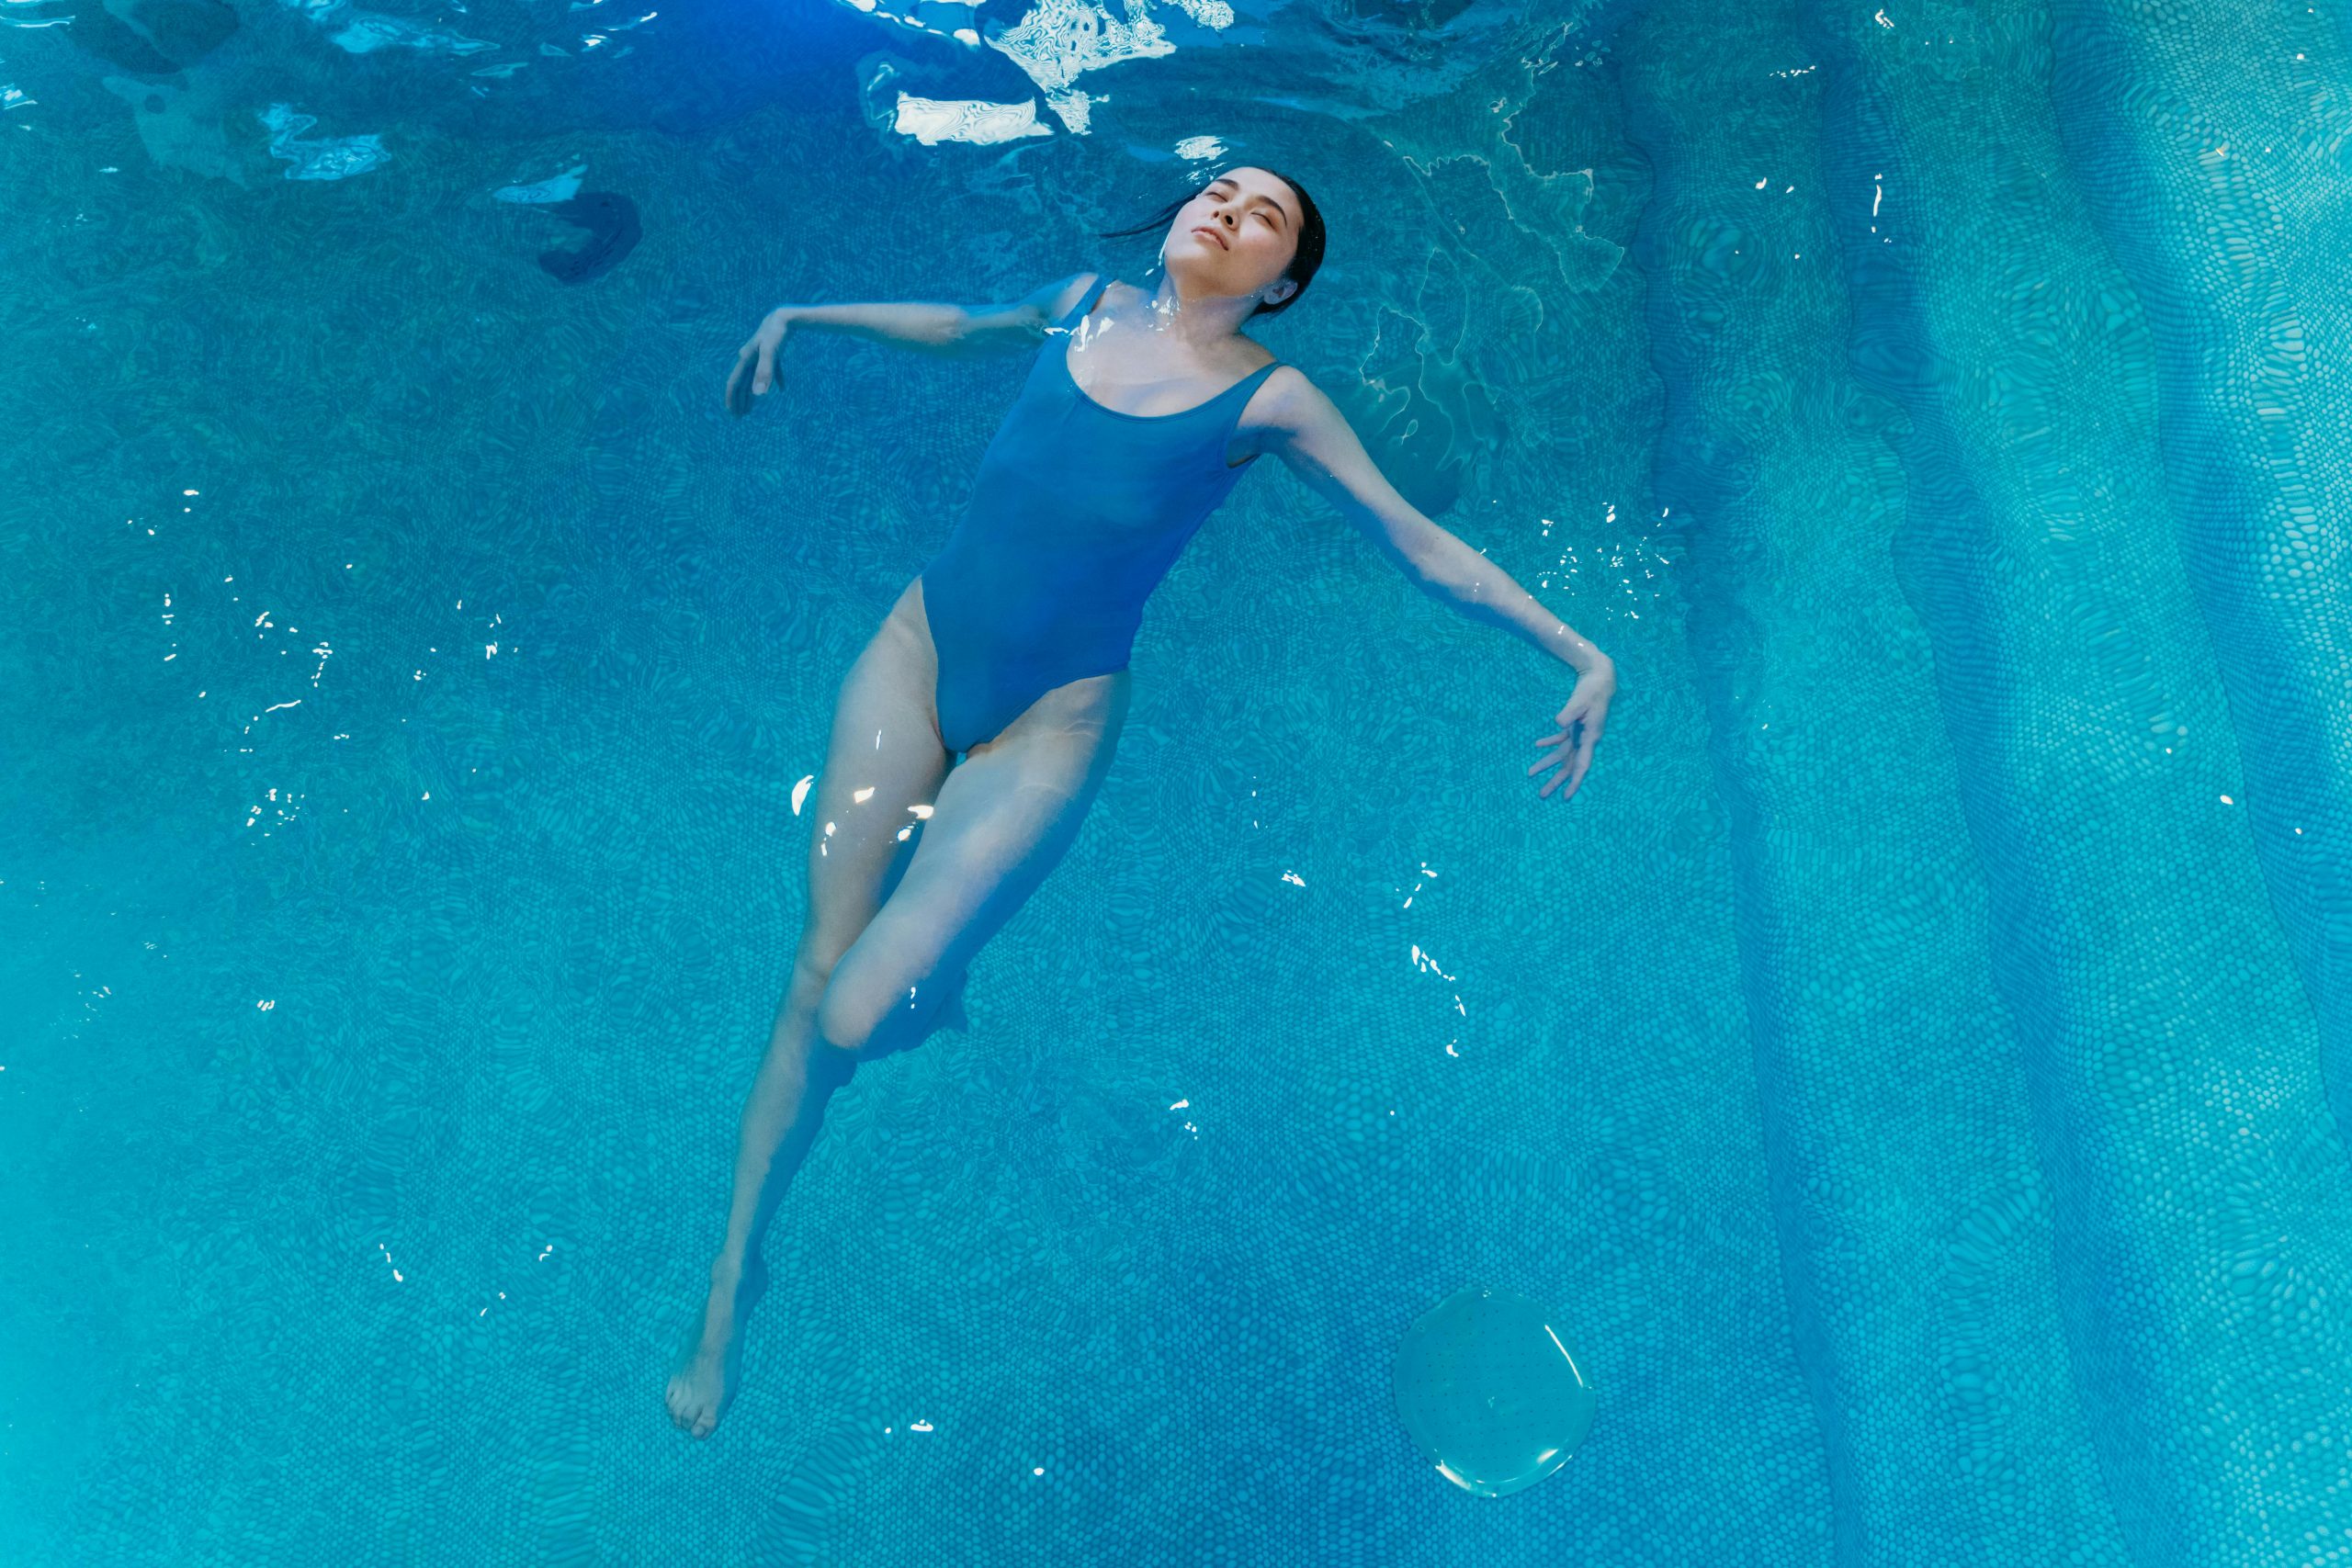
- Back float with arms overhead – Extend your arms above your head in a streamlined position. This helps with balance and creates a sense of weightlessness, perfect for practicing calm breathing.
- Starfish float with gentle kicks – While in the starfish position, gently move your legs or arms to drift slowly across the pool. This adds a sense of movement without losing stability.
- Superman float with gentle flutter kicks – While floating face down, lightly flutter your legs and extend your arms forward. This allows you to “glide” across the water while maintaining balance.
- Float with eyes closed – Closing your eyes can help you focus on the sensations of the water supporting you. This works for both back and front floats, building trust in the water and reducing fear.
- Add gentle twists or rotations – Slowly rotate your body while floating to improve balance and awareness of how your weight interacts with water. For front floats, you can gently turn your head side to side while kicking lightly.
- Combine floating with breathing exercises – Use floating time to practice slow, deep breaths, or count to 10 with each inhale and exhale. This improves relaxation and reinforces the feeling of buoyancy.
Benefits of Floating in a Pool
Floating isn’t just relaxing; it offers physical and mental benefits:
- Stress relief – Water calms the mind and reduces anxiety
- Muscle relaxation – Supports the body while relieving tension
- Improved body awareness – Helps you learn balance and posture in water
- Better swimming confidence – Floating builds comfort for deeper swimming skills
How Often Should You Practice Floating?
Frequency matters when learning any new skill. For beginners:
- Practice 3–4 times per week if possible
- Start with short sessions of 5–10 minutes
- Increase duration gradually as your confidence grows
Consistency will make floating second nature.
How to Make Floating a Relaxing Routine
Floating can be more than a skill—it can be a mini-meditation:
- Play soft music in the pool area
- Focus on the sensation of water supporting your body
- Breathe deeply and clear your mind
- Use floating as a warm-up or cool-down for swimming
Tips for Overcoming Pool Anxiety
If fear still holds you back, try these strategies:
- Practice in shallow water until comfortable
- Float with a friend for reassurance
- Gradually move to deeper water as your confidence grows
- Celebrate small achievements, like floating for 20 seconds
How to Build Long-Term Confidence in the Water
Confidence comes from practice and experience. Keep these points in mind:
- Set achievable goals for floating time
- Track your progress in a swimming journal
- Learn additional water skills to complement floating
- Remind yourself that fear is normal and temporary
How to Combine Floating With Other Water Skills
Once floating is comfortable, you can incorporate it into broader swimming skills:
- Transition from floating to gentle kicking
- Use floating to practice breath control and endurance
- Combine floating with stretching or water aerobics
How to Make Floating Fun
Floating doesn’t have to be serious. Try these fun ideas:
- Float while listening to relaxing music
- Use a pool noodle for creative positions
- Float with friends in a circle and play water games
- Observe the sky or ceiling while lying back—turn floating into a mini retreat
Bottom Line: You Can Float Without Fear
Floating in a pool—whether on your back or front—is a skill anyone can learn, and feeling nervous at first is completely normal. By focusing on relaxation, proper body positioning, controlled breathing, and gradual practice, you can float with confidence and ease. The key is patience, consistency, and trusting that the water will support you.
Over time, floating can become more than just a skill—it can turn into a calming ritual, a way to unwind, enjoy the water, and feel completely at ease. Start small, practice regularly, experiment with both back and front floats, and soon you’ll be floating confidently, effortlessly, and without fear.